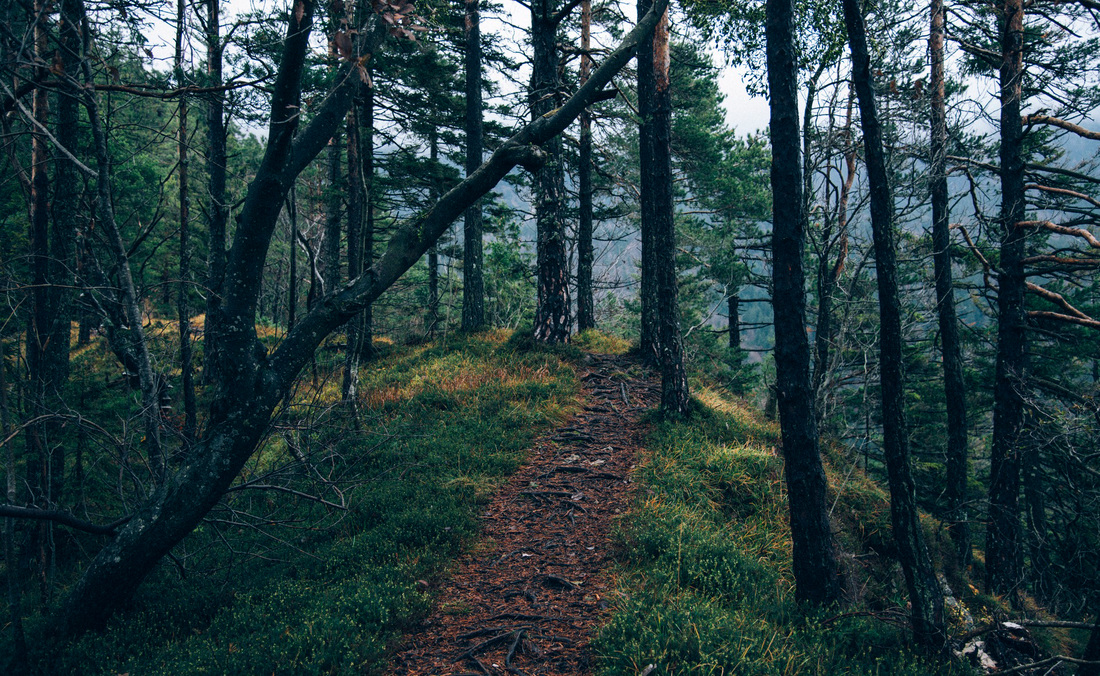
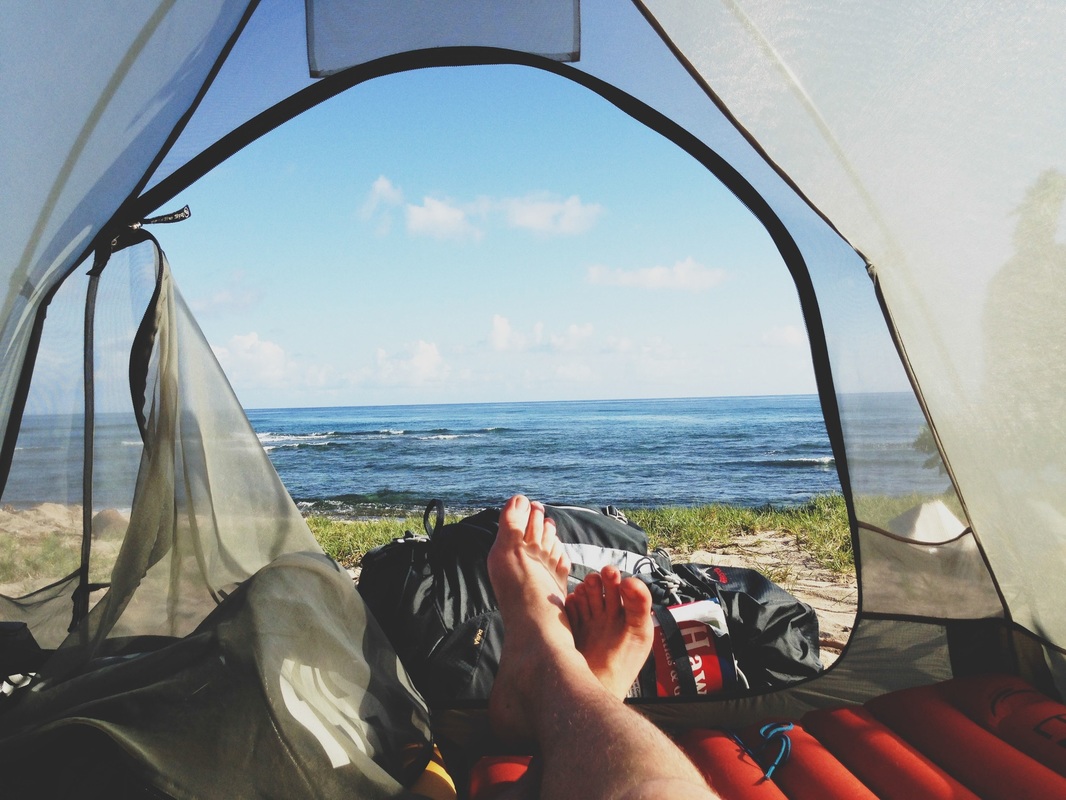
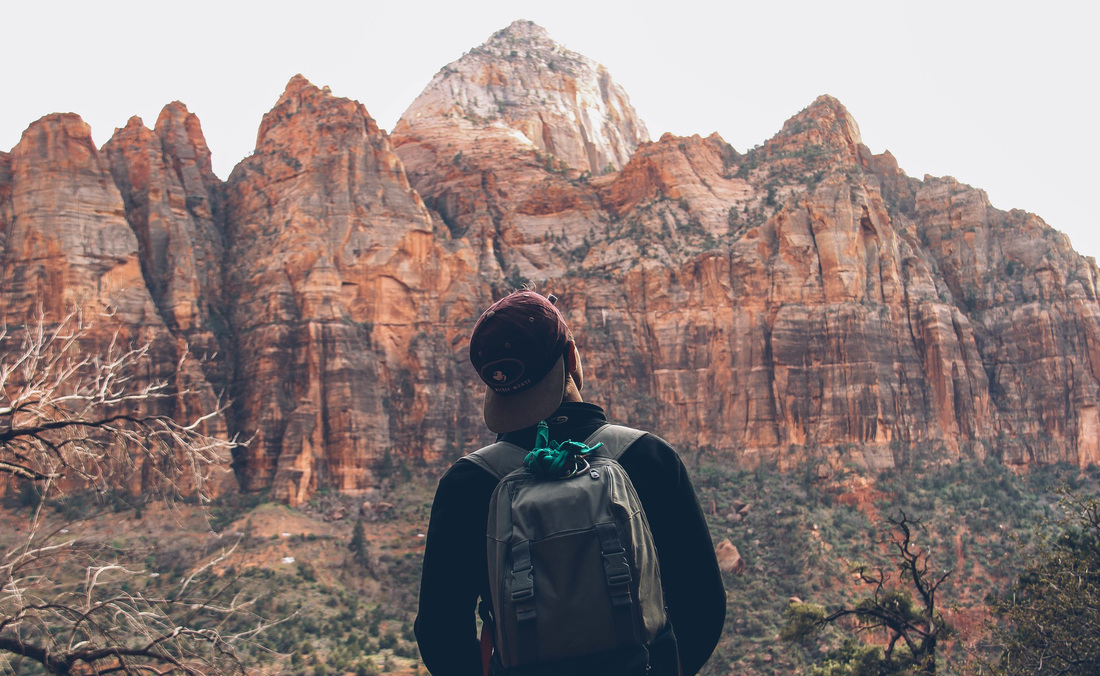
I'm James. This is my year of travel.

Id = The name/identity that’s given to an element. I put this globe in a new folder in the root folder named 'models'.īrief explanation of the tag and attributes Put your glb model in a separate folder just to keep your project files organized. If you can’t, then your model needs scaling. Before you scale your models though, load it up and see if you can see a red block (if you follow my instructions and put in the exact same style I will give you later on). But I usually scale it up like, 10x, 100x, 10x XD So, very large. 
How large I can’t really say since I sometimes use pmx editor for quick edits and it’s a very simple editor so I have no idea about the scale. Blender 2.8+ has built-in support for glTF files. If you have Microsoft’s 3D viewer installed, the model viewer can be converted to a glb model without any hassle. And always keep notes where you got the model from. So convert it if your model doesn’t come in that format. It came in a bunch of formats but what we need is a. For this tutorial I just went to archive3D and got a globe. I've been considering separating them so wall shape for tiles behaves more like it does for events, but I would also need to add a rot function for tiles, and perhaps allow them to be rotated with the shadow pen like I do for not familiar with that plugin, so I'm not there's no way to make the camera auto rotate to always face an event, but you can rotate the camera using plugin commands.Let’s get a glb model for testing. I wanted to get an update out since it's been a wall shape and fence shape are two names for the same thing.  
Might still be bugs, and there's still some missing features that I originally wanted to put in 0.6. premium glow effect is now disabled by default.added options for "dynamic normals" which will make characters meshes stay lit even when facing away from the sun.mand() script call for running plugin commands.textures now use tile coordinates by default no matter the number of parameters.yaw setting now works properly with board shape.default map settings in plugin parameters.separate textures for north, south east, and west.sprite and board shapes now work as map tiles.tree shape renamed to board shape (tree still works as an alias).Images from the MV3D folder can now be used as textures.babylon.js has been merged into mv3d.js.Really wish there was a way to angle them in more where they would hook near the tops of the masts instead, but straight up to a fringe tile was the best option I could think of with the current build of the plugin. Also, I had to layer the image on top of itself multiple times to get rid of some of the transparent pixels that was occurring from transforming it. I did a minor edit to the tops to bring them in closer like a sharper triangle so it would not be much wider than the 1x1 fringe tile above, giving it a more natural appearance in terms of connection. Did the same concept for the sails as well as the bowsprit in the front. I had to bump it up to or to get them that big. Use the Note box to adjust position/size. This is done by keeping the image size the same, but multiplying the canvas size horizontally by 3 to the right and vertically by 4 to the bottom. Are you talking about the rope nets on the sides?įor those, I extracted the image out of a tileset made by Celianna and reformatted it into a 3x4 character sheet with image editing software and placed a !$ prefix on the file's name (ex: !$RopeNet.png).
0 Comments
Leave a Reply. |
AuthorWrite something about yourself. No need to be fancy, just an overview. ArchivesCategories |
 RSS Feed
